Caring for New Chicks
Lets start at the very beginning; a very good place to start. (extra credit if you just sang that line from “The Sound of Music“!)
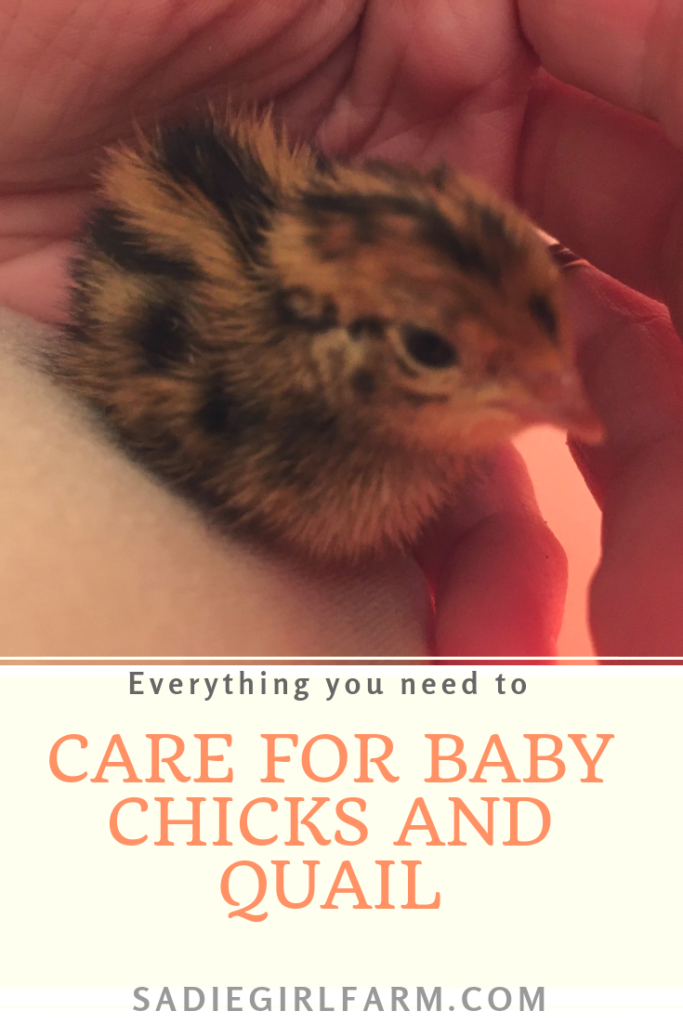
So you are just like me and you couldn’t resist the “chick fever” any longer. You went out (with or without your spouse’s knowledge… no judgement here) and bought some adorable baby chicks. Maybe you even went all exotic and got some quail chicks!! (They are AMAZING by the way) And now you have some teensy teensy babies coming home and you have no idea what they need! No worries, I got you! First, let me just say, you have just started on a journey that is Incredibly rewarding and fun, and also incredibly ADDICTIVE! If you have not already ordered/built your permanent coop, build it way bigger than you think you will need because… you WILL be getting more chicks next year. And the year after that. And the year after that. You see where I am going with this. But we are not going down that rabbit hole just yet; let’s get your newest babes all set up!
the brooder
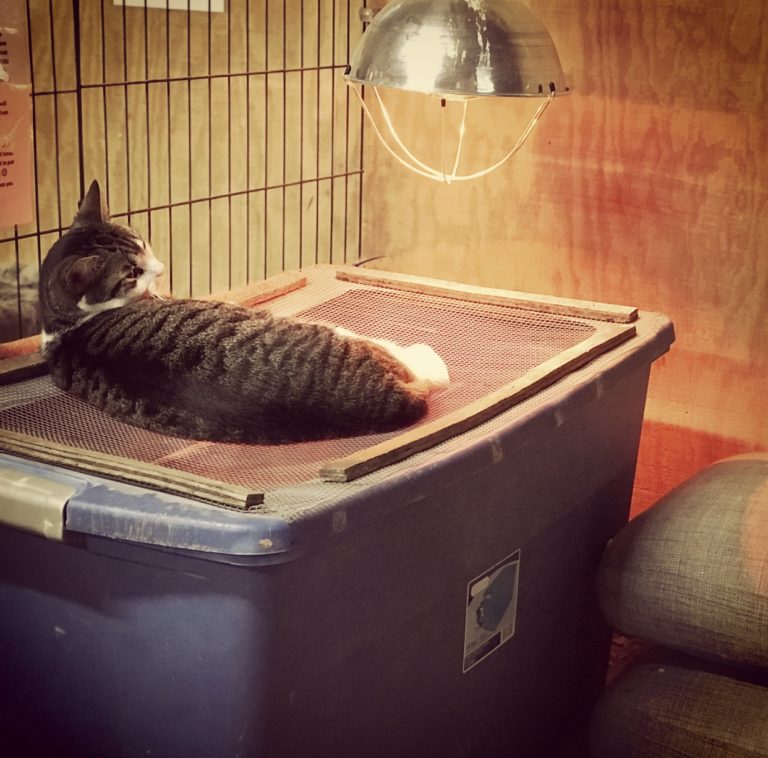
So your chicks are about to arrive (or maybe you are a procrastinator like me, and they have already arrived!) and you need to get a place all ready for them to live in! Excellent! Well, we call that little “place” a Brooder. A brooder is a perfect environment for baby chicks or baby quail (also called “chicks”) where they will spend their first 4-5 weeks. Some people are super handy and can whip one up out of wood and hardware cloth, with a cute little door and whatnot… Me? … I love a good old-fashioned plastic storage bin! The bigger, the better, because those little guys grow FAST! I usually get the biggest one I can find. (I actually have like 5…) We have cats, dogs, and kids at our place so I retrofit the lid so I can allow air and heat in, but keep the critters out. I use a heated up razor blade and cut out the center of the lid. Then using small nuts and bolts, or your favorite fashioning device (duct tape anyone?) I attach a piece of hardware cloth or chicken wire over the opening. It works great, and the plastic tubs are just so easy to clean and hold up so well. No worries about anything wet leaking out all over your kitchen or laundry room! (anyone else ever keep chicks in their kitchens?? Hey, back in the early days, we did what we had to do, ok!?)
setting up the brooder
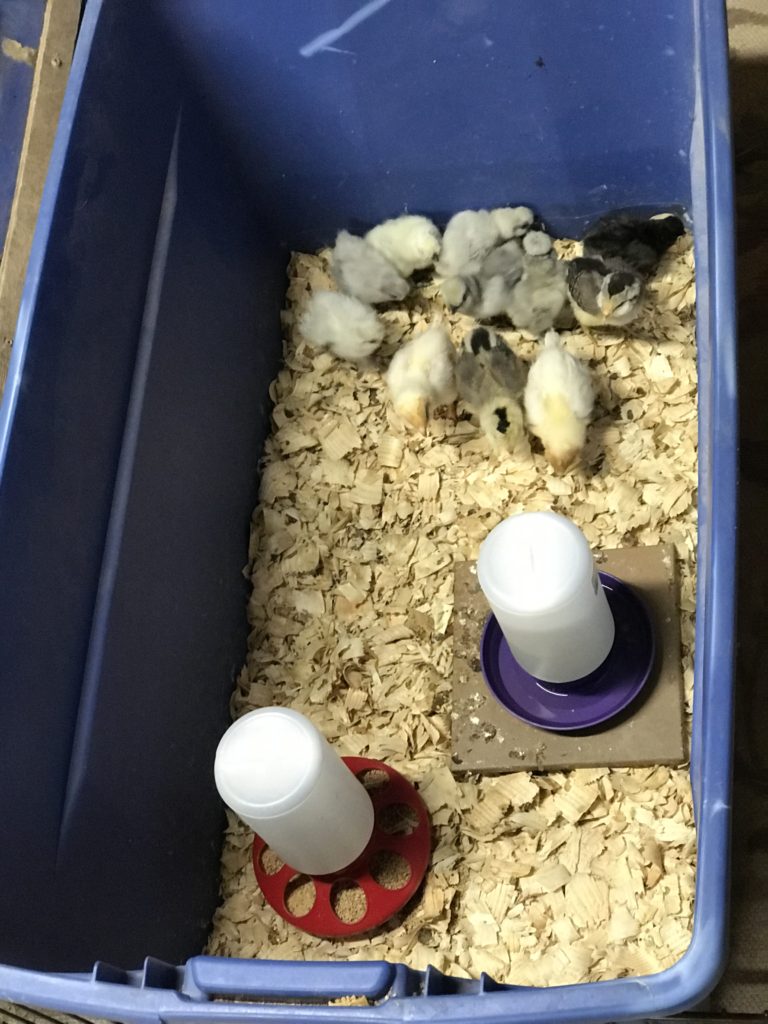
Once you have your bin modified, go ahead and put a layer of pine shavings in the bottom, about an inch thick or so. Make SURE you are NOT using cedar shavings! The oils in it are extremely toxic to all small animals. It will kill your chicks. While we are on this topic, do not use any sprays near your chicks or even in the same room… cleaners, aerosols, febreeze, etc. could kill your chicks if they inhale any of it.
OK. So now you need food and water. At most farm-supply stores (and definitely on Amazon) you can find little chick feeders and waterers. I like to get a couple 4×4″ tiles to put under these so they are more stable in the brooders, and also the chicks won’t kick as much shavings into them (they still will. Just not as much!). Set these in the middle of your brooder. Make sure the water is at room temp (or even better, just slightly warm) before your chicks drink it. It can chill them so fast. If you have quail babies, they have special teensy-weensy quail waterers, or else, just use chick waterers and put a bunch of marbles or smooth stones in there. They will still be able to sip the water, but they won’t get soaked and drown, because they WILL climb in, and they are NOT the smartest chip in the bag!
What to feed and getting them settled
I like to use Chick Starter feed for both baby chicks and baby quail. For the quail, you will want to grind this up in a food processor or coffee grinder, for the first week or so. They are just SO TEENY they can’t handle the bigger chunks. I keep all my chicks on chick starter until they are laying age (chickens- 5 months or so, quail- 8 weeks) At this time, I switch my chickens to a Layer Pellet, and I switch my quail to a Game Bird Feed. This is important, because once they start producing eggs, their bodies need the extra calcium in those feeds, to form nice strong egg shells. Along with a whole host of other necessary vitamins, minerals, and nutrients for adult birds.
Next, you will need a heat source. Normally, a mama hen would take care of this for the chicks, but now, YOU are mama hen, and they cannot yet regulate their body temperatures themselves. The rule of thumb is, for the first week, the brooder should be at 95 degrees; the second week, at 90; the third week at 85, and so on, until you reach the ambient temperature. I don’t bother with taking exact temps, I just watch the chicks’ behavior. If they are all huddled together, they are cold. If they are at the outer edges of the brooder and maybe even panting, they are too hot. Adjust your heat source accordingly. You can use a heat lamp or one of the several varieties of brooder heaters. Make sure the heat source is coming from ABOVE the chicks… a heat mat on the ground will not work. Also keep in mind fire safety. Double, triple secure your heat lamp so that it CANNOT fall! (I cannot stress this enough). I like to have my heat source on one end of the brooder. This way, the chicks can move under it if they need more heat, or they can move away from it if they need less. Still monitor their behavior to make adjustments, but I like giving them options.
Alright! You have a fully functioning brooder, all ready for your little babes to come home to! Now the fun begins! Make sure you have your brooder all set up several hours in advance of bringing home your babies. This will allow everything to warm up for them, because they will be chilled from the trip. I also like to add some poultry electrolytes to their water, if you are getting chicks that have been shipped through the mail. It was a long journey and they need that extra boost. I like one called “Poultry Drench”. It comes with a little eyedropper attachment and I add enough to their water so it looks like tea. You only need that the first 24-48 hours or so, unless you have a little weak one who needs it a little longer. It won’t hurt, it only helps 🙂 .
When you get your box of chicks home, wether from the post office or from the farm, feed store etc., take each chick out one at a time, and place them in the brooder. Dip their little beak into the water (this takes a little patience) so they learn how to drink and where the water is. You may need to do this a couple times, until you see them take a sip on their own (if they were shipped, they will be THIRSTY!) or until you see them swallow (they tilt their little heads back, it is SO cute!). After they got some water, dip their little beak into the food. This shows them where it is. I also sometimes use my finger in the food and pretend it is a mama hen’s beak “pecking” at it. This seems to teach them what to do. Then the next chick gets a turn, until you have taught all the chicks. This seems silly, but it really is important.
So your chicks will probably be drinking and eating and exploring their new home for a bit and then…. they will all pass out! Being a chick is exhausting and the heat lamp just feels so so good! I love watching them just stumble around until they go face first into the shavings… power nap. Some sleep so deeply they look dead! Don’t worry, they’re not! If you make a little sound or poke them, they will pop right up! Sometimes I am kind of like a new mom who checks to see if their baby is still breathing every hour on the hour 🙂
Things to look out for...
Mostly, once your chicks are eating and drinking, you are good to go! They are pretty hardy little creatures. But there are some things you need to know about in case it pops up. Number one, Pasty-Butt. Yep, that’s right. You gotta check those little bums every single day. But just for the first 3 days or so! For some reason, chicks raised in a brooder, not by a mama hen, are prone to this thing called Pasty-Butt. It is when the poop sticks to the feathers around the vent and hardens, blocking the chick’s vent from passing anymore poop. If you don’t catch it, it can be fatal because they cannot poop, and get backed up. Some people say this is more of an issue if the brooder is a little on the “too warm” side. That’s why I like to keep the heat lamp on one end, so they can move away from it if they need to. If you do happen to notice one of your biddies is pasted up, you will have to VERY GENTLY clean them off. It is hardened on, so you will need to hold their rear under some warm water to soften it up, then CAREFULLY remove the poo. Sounds gross. It is a little. But you are a mom or dad now, so poop comes with the territory! Dry them off best you can and put them back under that heat lamp. Keep an eye on them for a couple days in case you have to do a round 2. After 3-4 days old, this is no longer an issue.
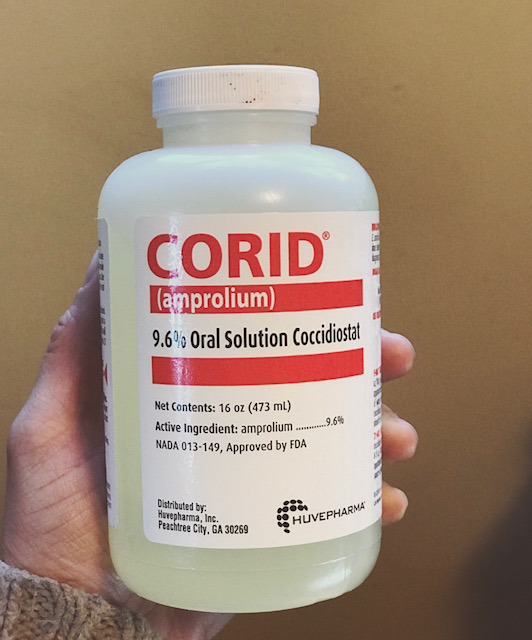
The next thing you need to be aware of is something called Coccidiosis. Basically it is everywhere. It is a bacteria/microbe that lives in the soil. It can travel on your hands, shoes, clothes, hair, car tires… It is everywhere. And there are many different strains. Each farm has it’s own unique variety and my chickens are “used to” and immune to the strain that is on my farm, your chickens are immune to the strain on your farm, but new baby chicks are NOT immune to the strain in their new environment… ie: your farm/home. Coccidiosis is the most common problem for new chicks entering a new farm environment, but it is easily treatable/turned around if you are proactive. If your chicks look like they are getting lethargic or ill, we recommend giving them 1/2 Tablespoon of Corid (farm supply store) per gallon of drinking water for 1 week to clear their system of the bacteria overgrowth. They will most likely pull through, but you need to be observing your chicks so you can catch any issues early. I also recommend keeping the babies away from other chickens and their feces, to allow the babies to slowly build up their immunity to the natural bacteria/microbes in your soil which will be different than the ones where they came from.
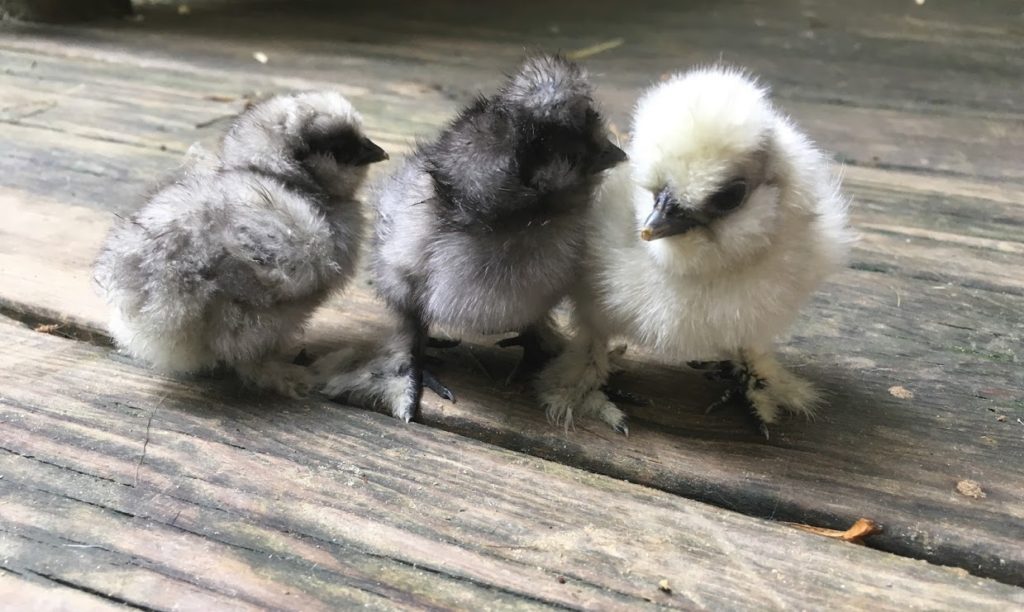
Ok, so your chicks are doing great! They are growing and feathering out! And stinking up your house now! At about 4-5 weeks old (depending on your weather) they are ready to move out to their big boy/big girl coop. You DO have a chicken coop/quail hutch right? Those 4 weeks fly by, so make sure you have a permanent set up before you bring your chicks home. Make sure the coop will keep them safe from predators, keep them dry, out of the wind, with enough light and ventilation. Ideally you would also have a safe little yard/pen for them to venture out in during the day so they can scratch and peck, and sun tan, and dust bathe. If you are introducing the babies to an existing flock of chickens, I would wait to do the full introduction until they are about 1/2 the size of the adult birds. More on that topic for another post!
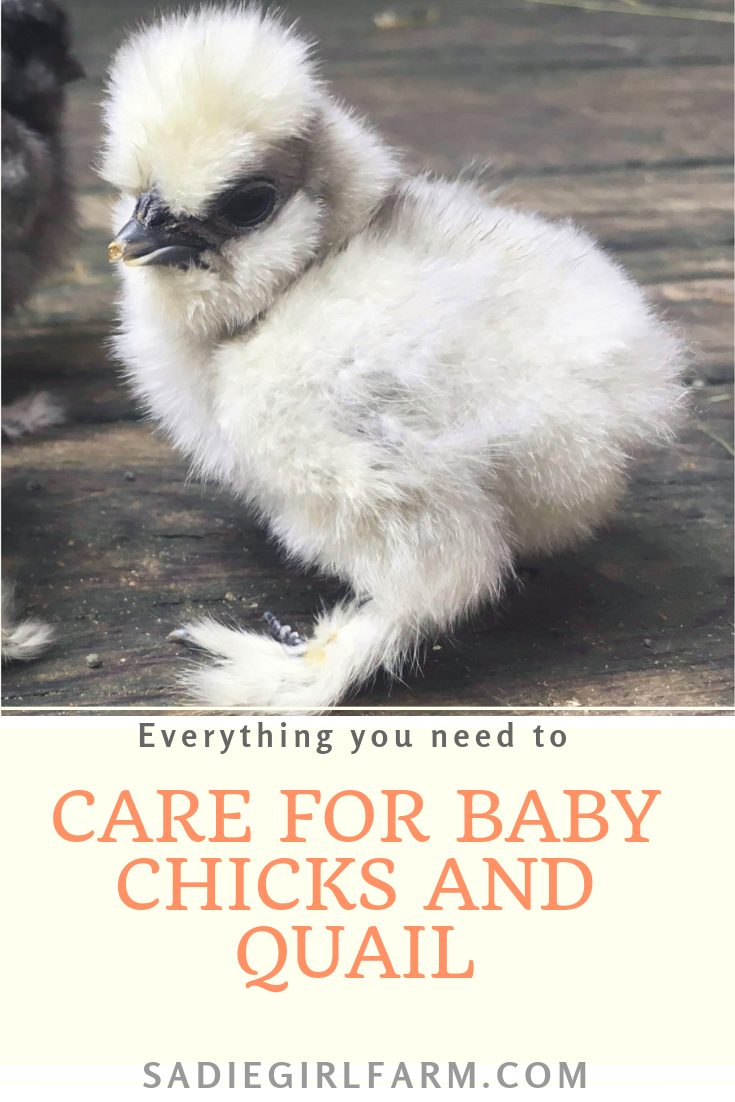
Enjoy your babies! They are so so fun! And they grow up so fast, so enjoy the fluffy baby stage while it lasts! Congrats!!